
Here we're going to do a simulation of an exploding wine glass to test out fluid physics.
Making the Glass

Get a profile view of a wine glass. This is the one we'll be using. In the houdini viewport select the front view perspective.
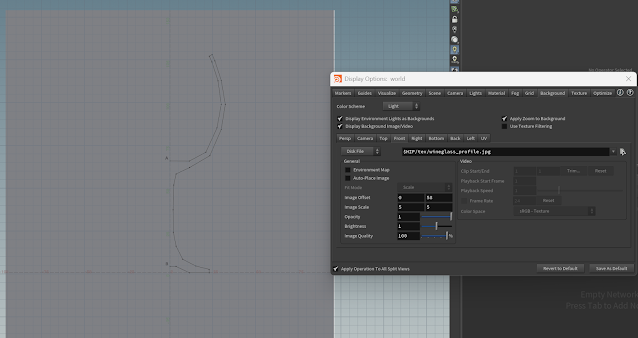
To use it in our scene, press D in the viewport, (or look at the bottom of the side toolbar to find an eye icon
 ).
). Look for background settings and look for your image (we set our project and placed the image in our textures folder). Adjust the size of the image and the offset here. Make sure you're changing the correct perspective view (we're doing this in the front view so we put the image in the front view settings).
Now look for the Curve polygon button in the top toolbars. Select it.
 In the viewport click once to set the drawing plane, then start tracing our image. Press X in the viewport to select the grid snapping option.

Now out of the front view hit spacebar+h to hone the camera on the item we just made in the perspective view.
Now out of the front view hit spacebar+h to hone the camera on the item we just made in the perspective view.
Create a revolve node to make it a solid polygon.

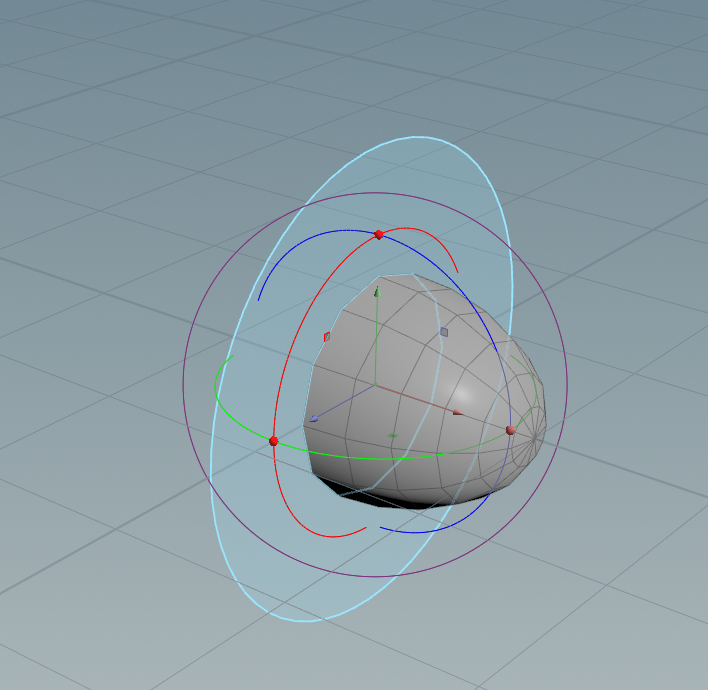
Now we want to select the edges on the rim of the cup and the bottom stand to crease them so they stay sharp when we subdivide it. In the viewport turn on the select tool and make sure you're selecting edges.

After selecting our edges, hit tab in the viewport and look for the crease sop. Hit enter and you'll see a crease node be created with the edges automatically appended to the group so it only creases what you had selected.


Add a subdivide node with a depth of 2. Our wine glass geo is complete, to clean it up make sure that the bottom of the glass is at the origin with a match size node. Note that when we first created the curve geo, it might have placed the geo's translation above the origin, just zero it out and it should be fine.
We had also scaled down our wine glass since we drew it pretty big in the beginning. You want the glass to at least be small or close to scale because it will affect the simulation.
Make sure to create a null node at the very end of your network with the name GLASS_OUT.
 |
| translate should be zeroed out |
Making the Wine
Create a new geo node. Inside make an object merge node to get a reference to our wine glass. We'll be making the wine inside here. Make sure the 'Transform' setting is 'Into This Object'

Select the top third of the wine glass. This will be How empty the glass will be. Hit tab and look for a blast node. You'll see now that part is transparent.

Again select rim edge and then create a poly fill node so it fills in the center. Change the fill mode to quadrilateral Grid. For tangent strength make sure it set to 0.

Making the bullet geo
Start with a sphere polygon with radius 0.2, 0.125, 0.125 for the overall shape of the bullet.

Add a clip node. Press enter to show the clip plane in the viewport to manipulate it. Where ever the plane is is where the geo is going to get sliced.
 We don't need to move it now. Select the rim edges and create a poly extrude node to create a tapered edge. You'll need to turn on 'transform extruded front' and then edit the translate and scale values.
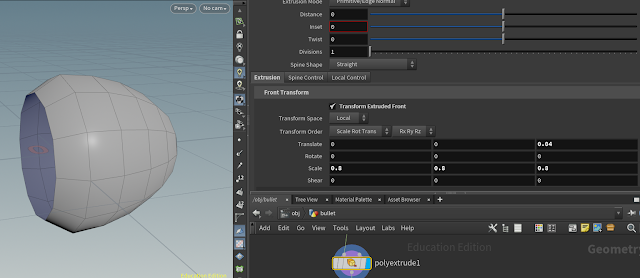 We want to delete the first front faces so it's flat in the front. Select the faces and hit the delete key. This auto creates a blast node for you.

Select the open edges, get another poly fill node and make sure it's set to quad grids. Make sure corner offset is also set to 1 to get better topology. Add a subdivide node with depth 2.
For the final bit, create a transform node to translate it to where you want the bullet to come from.

End with a null node named 'BULLET_OUT'.
Breaking up the object
There's the rbd material fracture node and voronoi fracture node that helps to break up objects. We'll be using boolean shatter method for this one.
Make a grid object from the Object level. Dive into the network. Change the grid direction to the YZ plane and make it big enough to encompass the wine glass. We're going to draw on top of this grid to show where we want the fractures to be. Change to the right view and show wireframe so we can see the bullet right through the glass.

Select primitives and then hit n to select the entire grid. Then hit tab and look for draw curves (create). You should now be able to draw on top of the grid. Create several lines from where the bullet will connect.
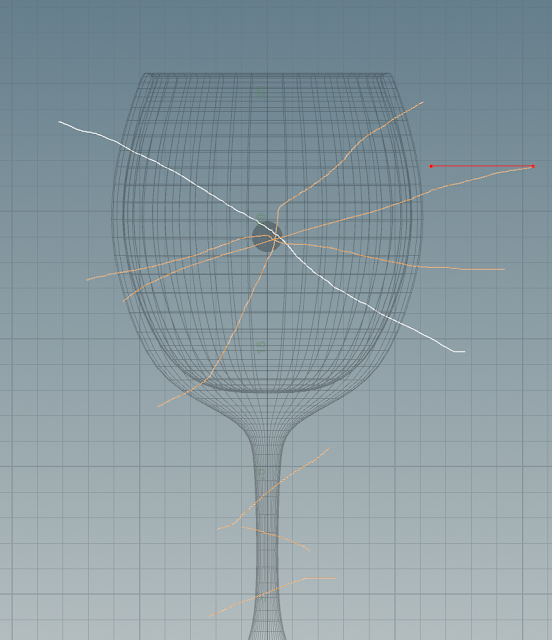

Get a mountain noise and then change the amplitude to 0.75 to get more variation along the curves. Then get a null node named FRACTURED_OUT to finish it.
Fracturing the glass
Go back to the wine glass geo. Get an object merge and bring in the fractured geo. Now get a Boolean node and plug them both in. You might see some warnings pop up. Change the operation to 'shatter' 'pieces of A'. You can use an exploded view to see how the object has shattered.


Go back up to the object level and hit escape. Make sure you only have the wine glass selected then hit rbd convex proxy. It creates approximate convex shapes for the simulation.

Make a ground plane, and hit play on your timeline to see the glass fall apart. Go into the autodop network. select the top node under physical change the density to 2000.
That's all we need to do to set up the basics. Next week we'll start on the fluid sim.


No comments:
Post a Comment