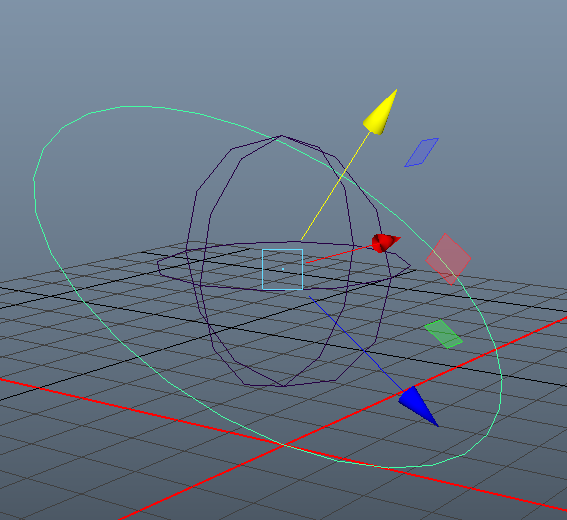
Quick and Fast Instructions
- Create your NURBS curve
- Put your Curve into an empty group (Ctrl + G).
- Make sure you freeze and delete history on both the curve and the group.
- Modify > Center Pivot for the group
- Select the group, then select the joint you wish to match, then go to Modify > Match Transformations > Match All Transforms.
- The group should snap to it and the curve should still have its transforms zeroed out in the channel box. The pivots for the joint and curve should also be the same.
- Finally select your curve, then select the joint, go to Constrain > Parent.
- Now your curve should control your joint, and you can put it into your curve hierarchy.
That's all there is to it. If you want more info + pictures you can continue reading on.
Setting up the NURBS curve
When constraining curves to joints, a good practice to keep in mind is to have the pivot of the curve match the pivot of the joint. Start by creating a NURBS curve and scale it to approximately the size you want. Keep it at the origin for now. Then delete history and freeze transformations. Rename the NURBS curve to something descriptive for what it is controlling.
We want the NURBS curve to be completely clean of any transform, rotate, or scale data. But we need to move it so that it's near the head joint to move it. What we can do is create an Offset Group to put all of the transformation data when moving the curve, while the curve remains clean. While selecting the curve, hit Ctrl + G to create a group.
 |
| The groups pivot when first created should be at the origin |
It's important that the Offset Group's pivot and the NURBS pivot should be exactly the same (if you haven't translated the NURBS curve, the pivot should still be at the origin).
Matching all Transformations
We've completed all of the setup we need for this. Now with the Offset Group selected, find the joint you want to control. You need to add the joint to your selection. This can be done in the outlier with Ctrl+left click or in the viewport Shift + left click.
|
|
|
|
|
 |
| Under the Modify tab |
Now the Offset Group and the curve snaps to the joint. And you can check the pivots by selecting the curve and then the joint. The translate manipulator should not change direction toggling between the two.
 |
| Head Control Pivot |
 |
| Joint Pivot |
Here's an example of the pivots not aligning correctly.
|
|
|
Going back to our head control example. We can also check the the controller's attributes in the channel box. It should still all be zeroed out. Instead all the 'garbage' transform data was put onto the group, and we can check this by selecting the Offset Group and looking in the channel box.
 |
| But when you select the Offset Group, it has all the 'garbage' data used to get the curve into place |
The final step is to select the Curve, then select the joint, go to Constrain > Parent. You can go into the options box and turn off "maintain offset" to check if you've done it correctly. If your curve seems to move a bit when you constrain it you might have something off. If it stays in place you've done everything correctly.
Changing the shape of the NURBS Curve without changing transformation data
Now that your curve is in place, you may want to adjust the shape more. You don't want to move the object cause that will move the pivot out of place. What you can do it change the objects shape using the NURBS curve's control vertices.
Select the NURBS curve. Hold right click and select "Control Vertex" from the radial menu.
 |
| The NURBS curve radial menu |
 |
| NURBS curve control vertecies |
You should see a bunch of purple dots appear around the NURBS curve. These points determine the shape of the curve. You can adjust any of them in anyway, rotate, translate, scale, etc.


No comments:
Post a Comment